IDM PowerTips
Adding or removing file extensions for syntax highlighting
We often receive requests from users asking how to add or remove certain file types for syntax highlighting. UltraEdit’s simple and powerful syntax highlighting feature allows you to do this very quickly easily.
Syntax highlighting is defined by the wordfile in the syntax highlighting options of the advanced configuration. You can open the wordfile and add or remove the FILE EXTENSION from the Extension list for the language which you do or do not want highlighted.
Please note: The following Power Tip will demonstrate how to add highlighting for a specific file type for a language which already exists in your wordfile. If you’d like to add a new language altogether, please see our Adding a wordfile power tip.
Adding or removing file extensions for syntax highlighting
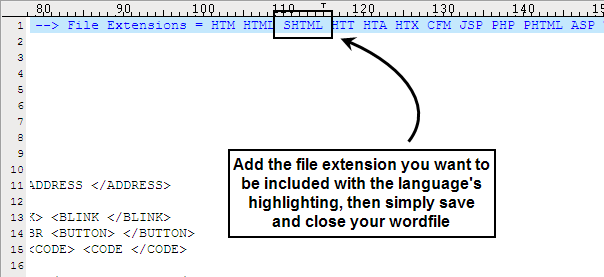
For this example, we are going to add SHTML files to the default wordfile, so they will highlight based on the HTML language definition.
Step 1: Locate and Open the Wordfile
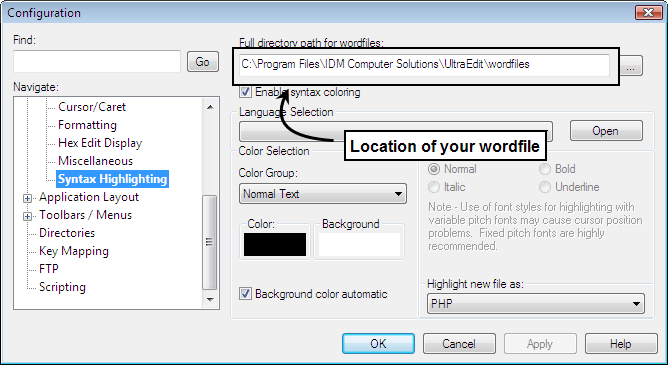
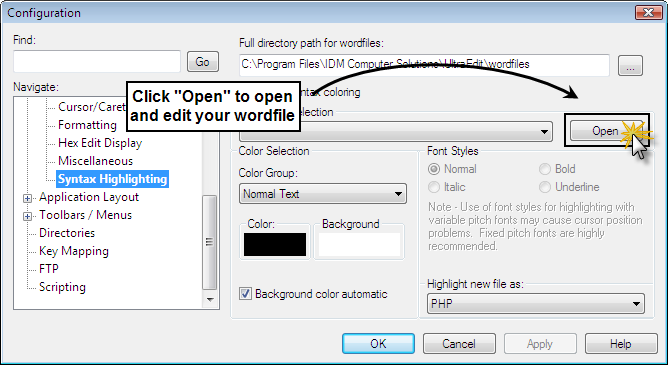
You can very easily see where your default wordfile is located by navigating to Advanced> Configuration> Editor Display> Syntax Highlighting. Click the “Open” button to open the wordfile UltraEdit is using.
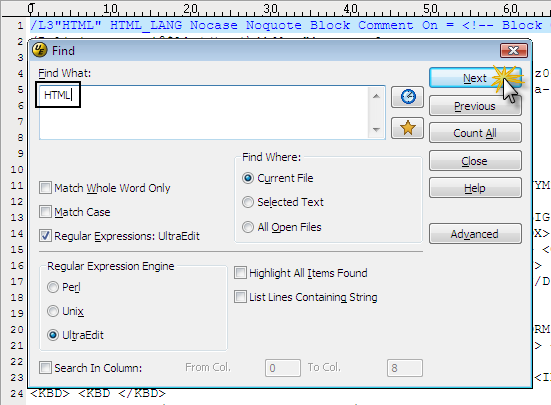
Once you’ve opened your wordfile, you will need to locate the language for which you’d like to add or remove a file extension. For our example, we are going to add SHTML files to the HTML language definition. With the wordfile open, you can press CTRL + F to do a search for the language definition within the wordfile.
Step 2: Edit the Wordfile to Add the File Extension to the Language
Now that you’ve located the correct language in the wordfile, you only need to find where the “File Extensions” are listed. This will be near the top of the language on the first line.
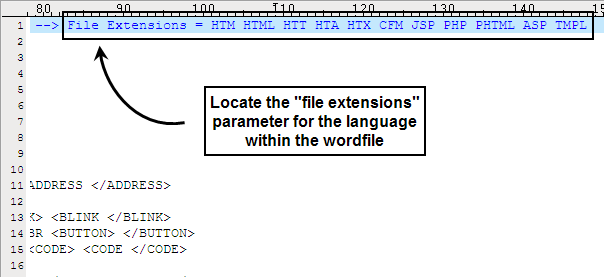
Type in the file extension (for this example “SHTML”) that you’d like to add to your syntax highlighting, save the wordfile, and then close. If you’d like to remove a certain file type from the language’s highlighting, simply delete the file extension from the wordfile.
Step 3: Open the new file type
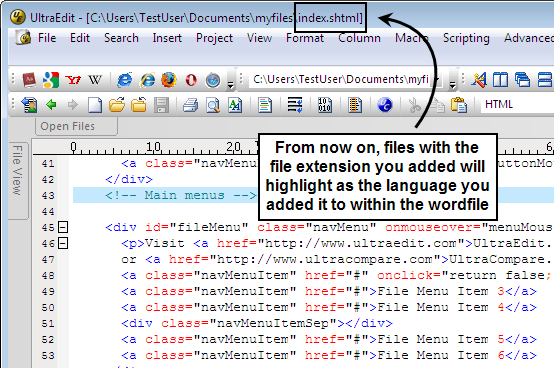
You will now be able to view the file extension you’ve added as the language you’ve specified. You can open a file in the editor after you’ve completed the above steps to view the highlighting for the language you’ve specified.
